Several significant upgrades and enhancements have been made to the East Alabama  SKYWARN / KK4ICE Weather Station over the past several days, including the construction and installation of a Stevenson Screen enclosure which increases the accuracy of temperature and humidity readings, and replacement of every sensor/instrument in the system with new ones.
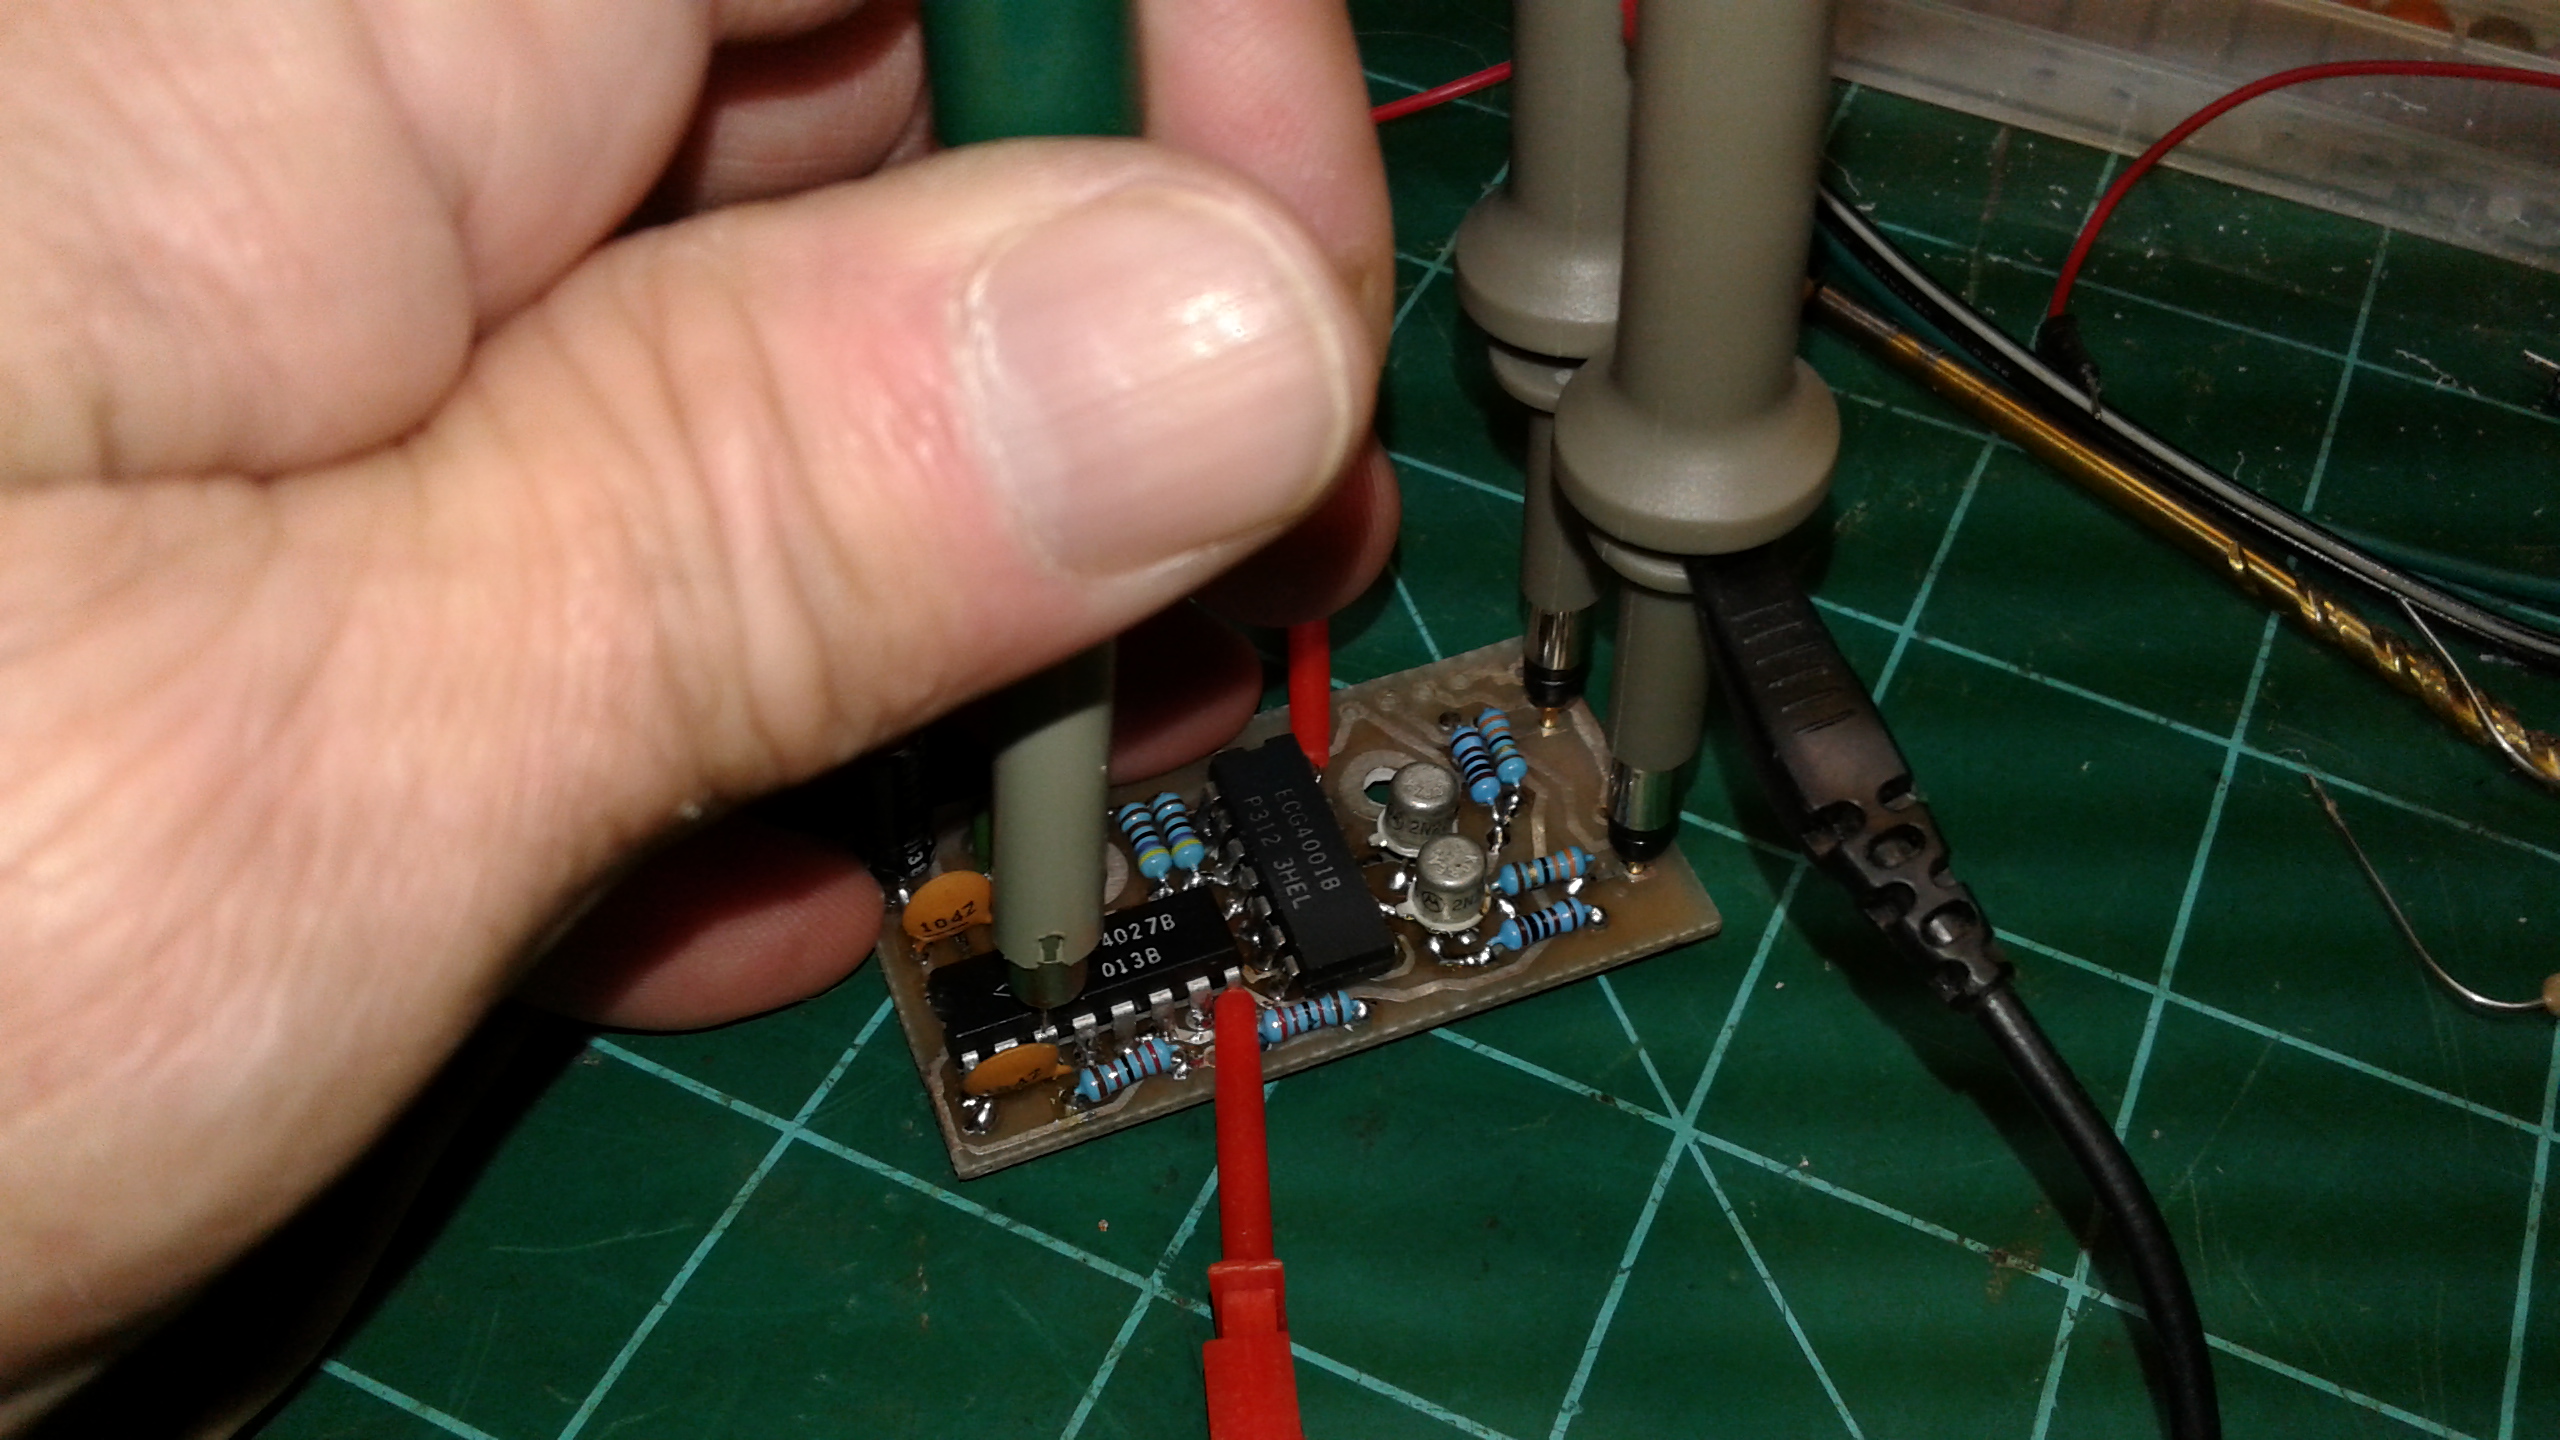
The system has been in operation since 2012, but some of the sensors were starting to show their age. Most notably, the rain gauge had completely failed, with no rain
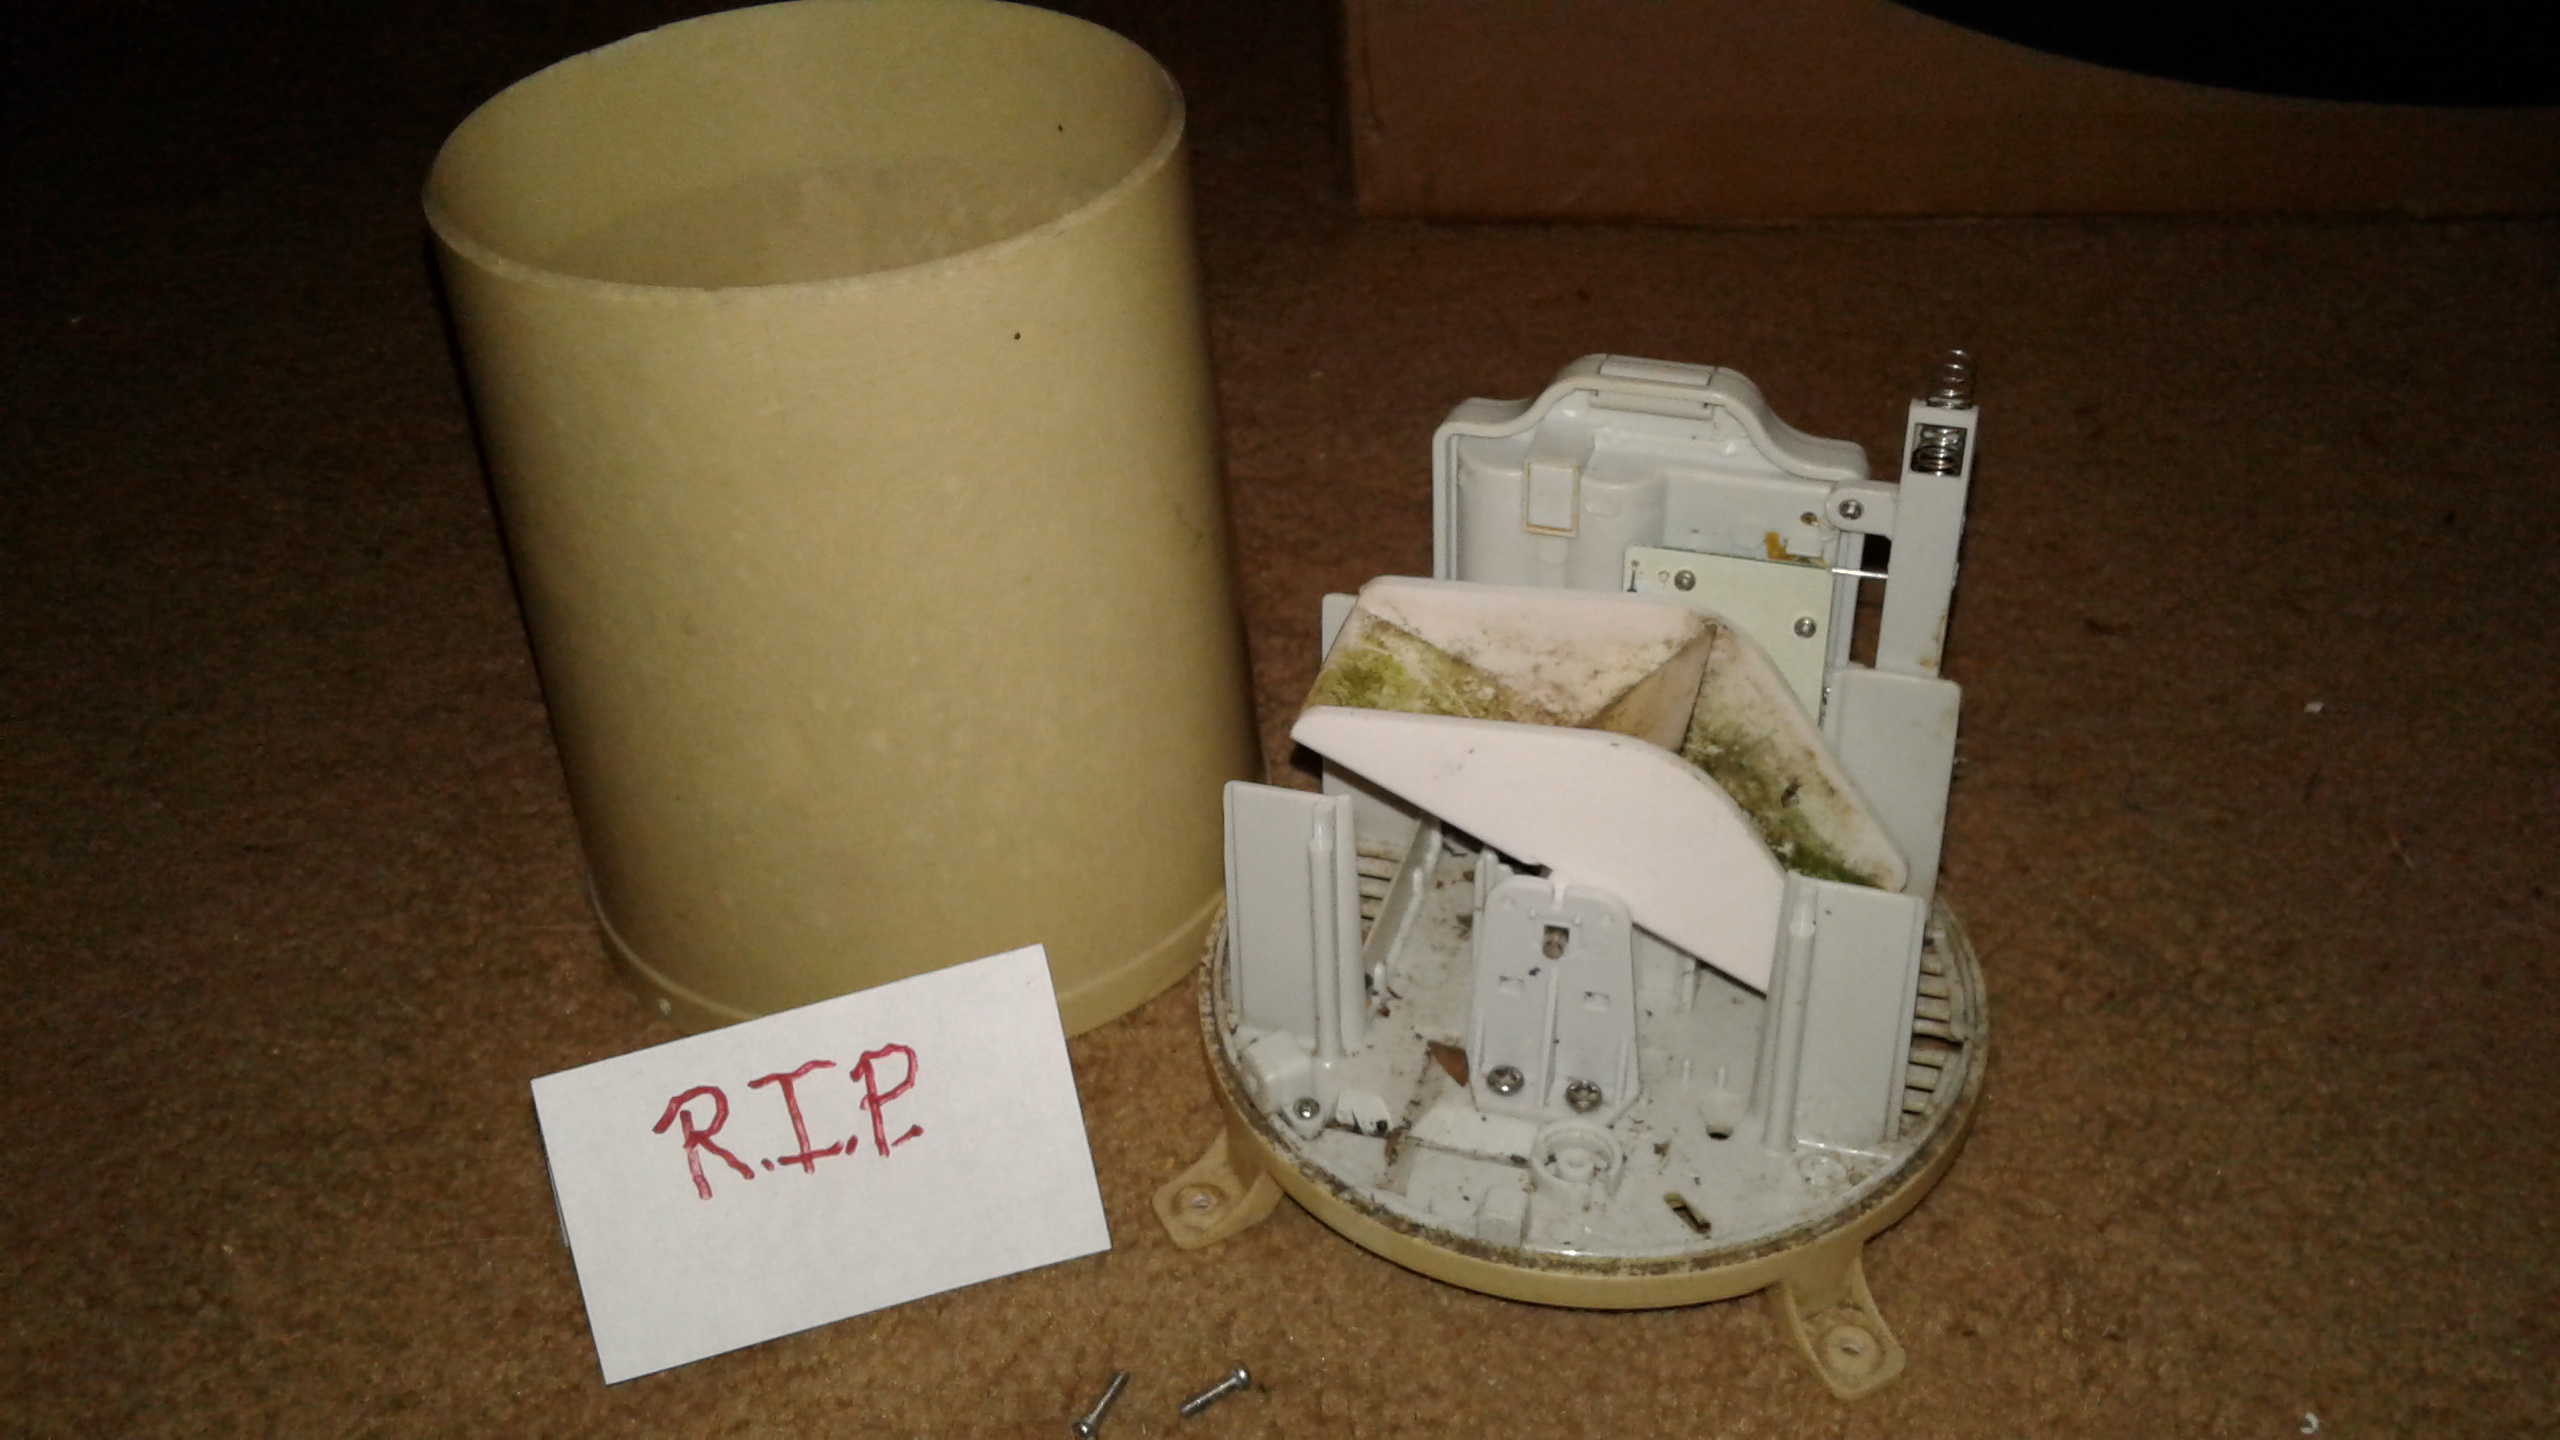
“Alas, poor rain gauge, I knew you well.”
measured for 152 days prior to replacement of the sensors and instruments. Instead of just buying individual replacements for the system components, I managed to land a great deal on a total system on eBay — still brand new, in the box, never installed or used. In fact, I paid less for the whole replacement system than what it was going to cost just replace the rain gauge. I couldn’t pass that deal up. Since I was already investing time and money in replacing the instruments and sensors, I decided I would go ahead and take things a notch higher while I was at it.
For several years, I had wanted to put the temperature and humidity sensors in a Stevenson Screen, which is a specially built enclosure with louvered panels on all four sides. This allows ambient air to flow freely through the enclosure for more accurate temperature and humidity readings, while keeping rain, snow, etc. from actually getting inside the enclosure, which can throw the readings off considerably. It also has a second roof on top with air space between it and the top of the main enclosure. This prevents errors in the temperature readings which would be caused by sun bearing down directly on the top of the main enclosure. Ice and rain on the top of the enclosure would also cause erroneous readings, so the second roof keeps those off the main enclosure box, resulting in much more accurate and realistic readings. The problem is that a commercially built Stevenson Screen is a very expensive item which I couldn’t really afford to purchase; however, being an Amateur Radio and weather enthusiast, in typical “ham” fashion, I decided to solve that problem in a less expensive and more creative way — I built my own Stevenson Screen.
About 10 years ago, I replaced all the wooden shutters on my house with vinyl ones. Most of them were falling apart, with louver strips falling out, etc. Two of them were still
in decent shape and at the time some little voice told me “Don’t throw those away — there could be a use for them one day.” (Yes, I inherited that trait from my dad, who refused to throw away anything he even remotely thought might be repairable or serve some purpose in the future.)
Since the key feature of a Stevenson Screen is having louvered venting on the sides, my brain clicked (yes, it happens, but the smoke finally cleared) and I thought “Wooden
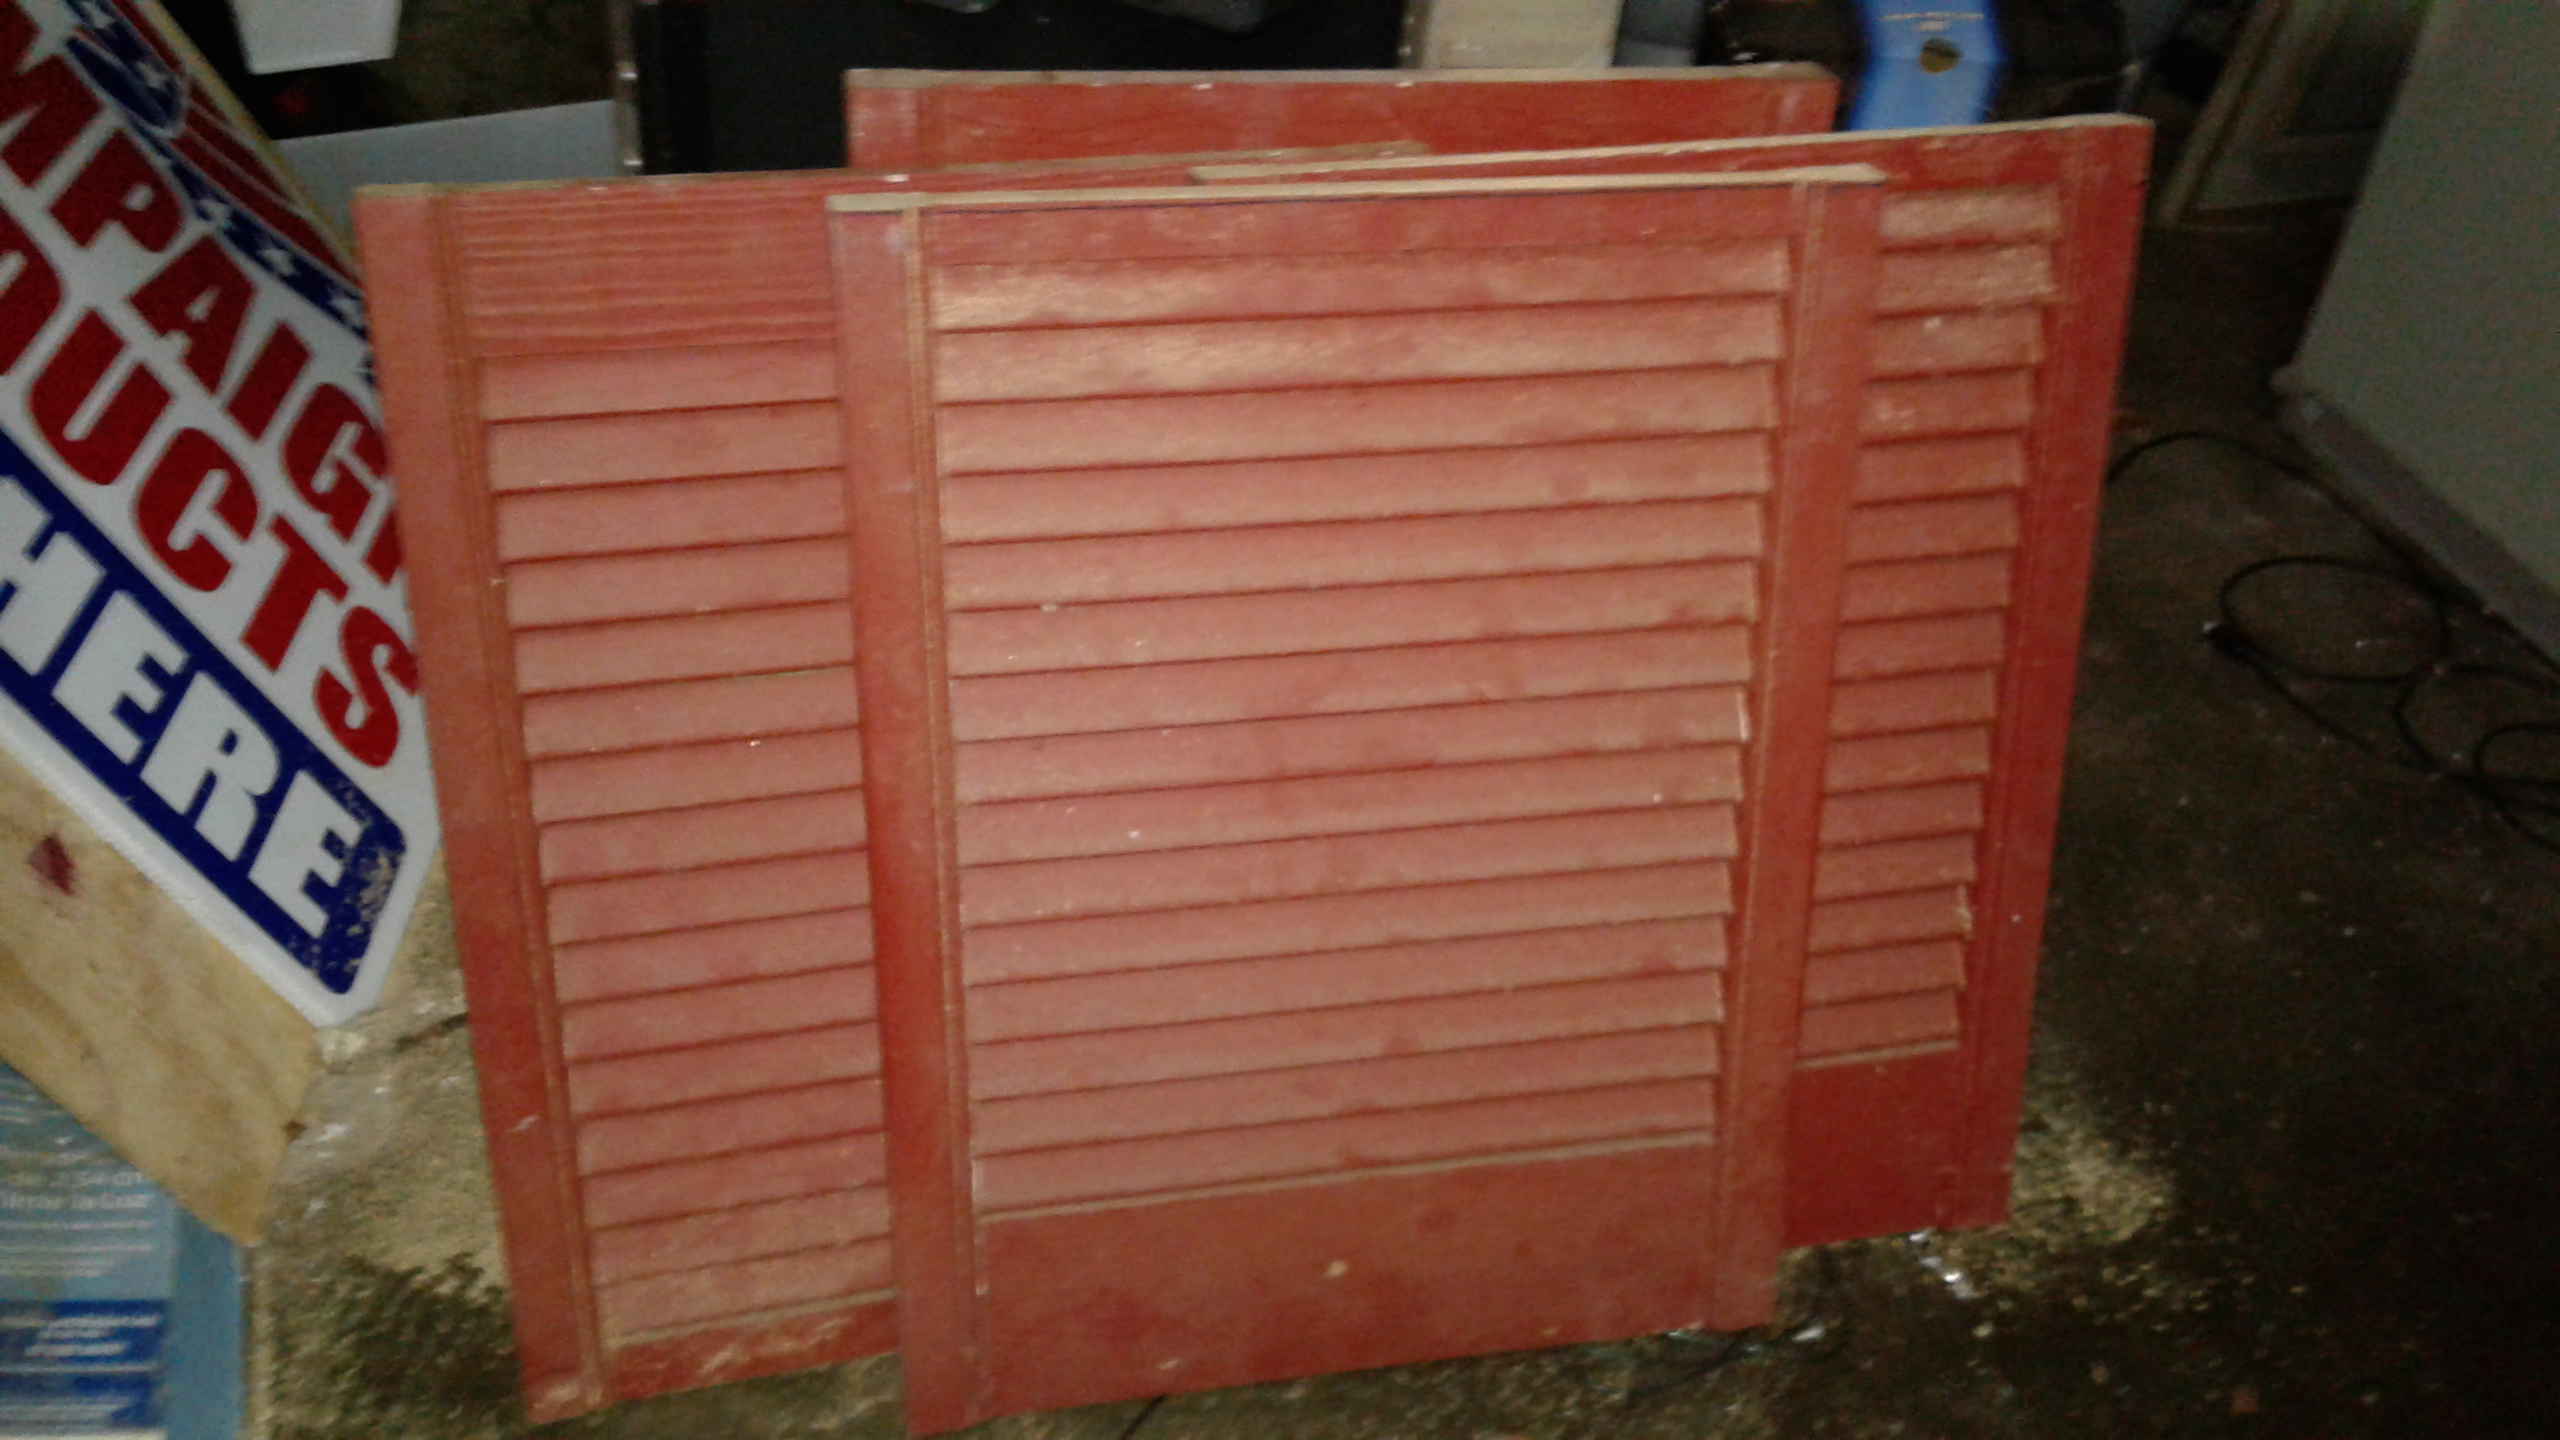
“Shutters? Shutters? We don’t need no stinkin’ shutters.” Well, maybe we do, if they get used for the purpose they were really intended for, even if the factory was clueless about what they were really making.
shutters are really Stevenson Screen panels which had been mistakenly used as shutters in a past life.” The two shutters I had kept just happened to have two sections of louvers (upper and lower) separated by a spacer section of wood. When I measured them I discovered they could easily be sawed into two equal length panels with the louvers intact and unaffected. In about five minutes the two shutters were turned into four convenient sized Stevenson Screen panels. I was off to the races.
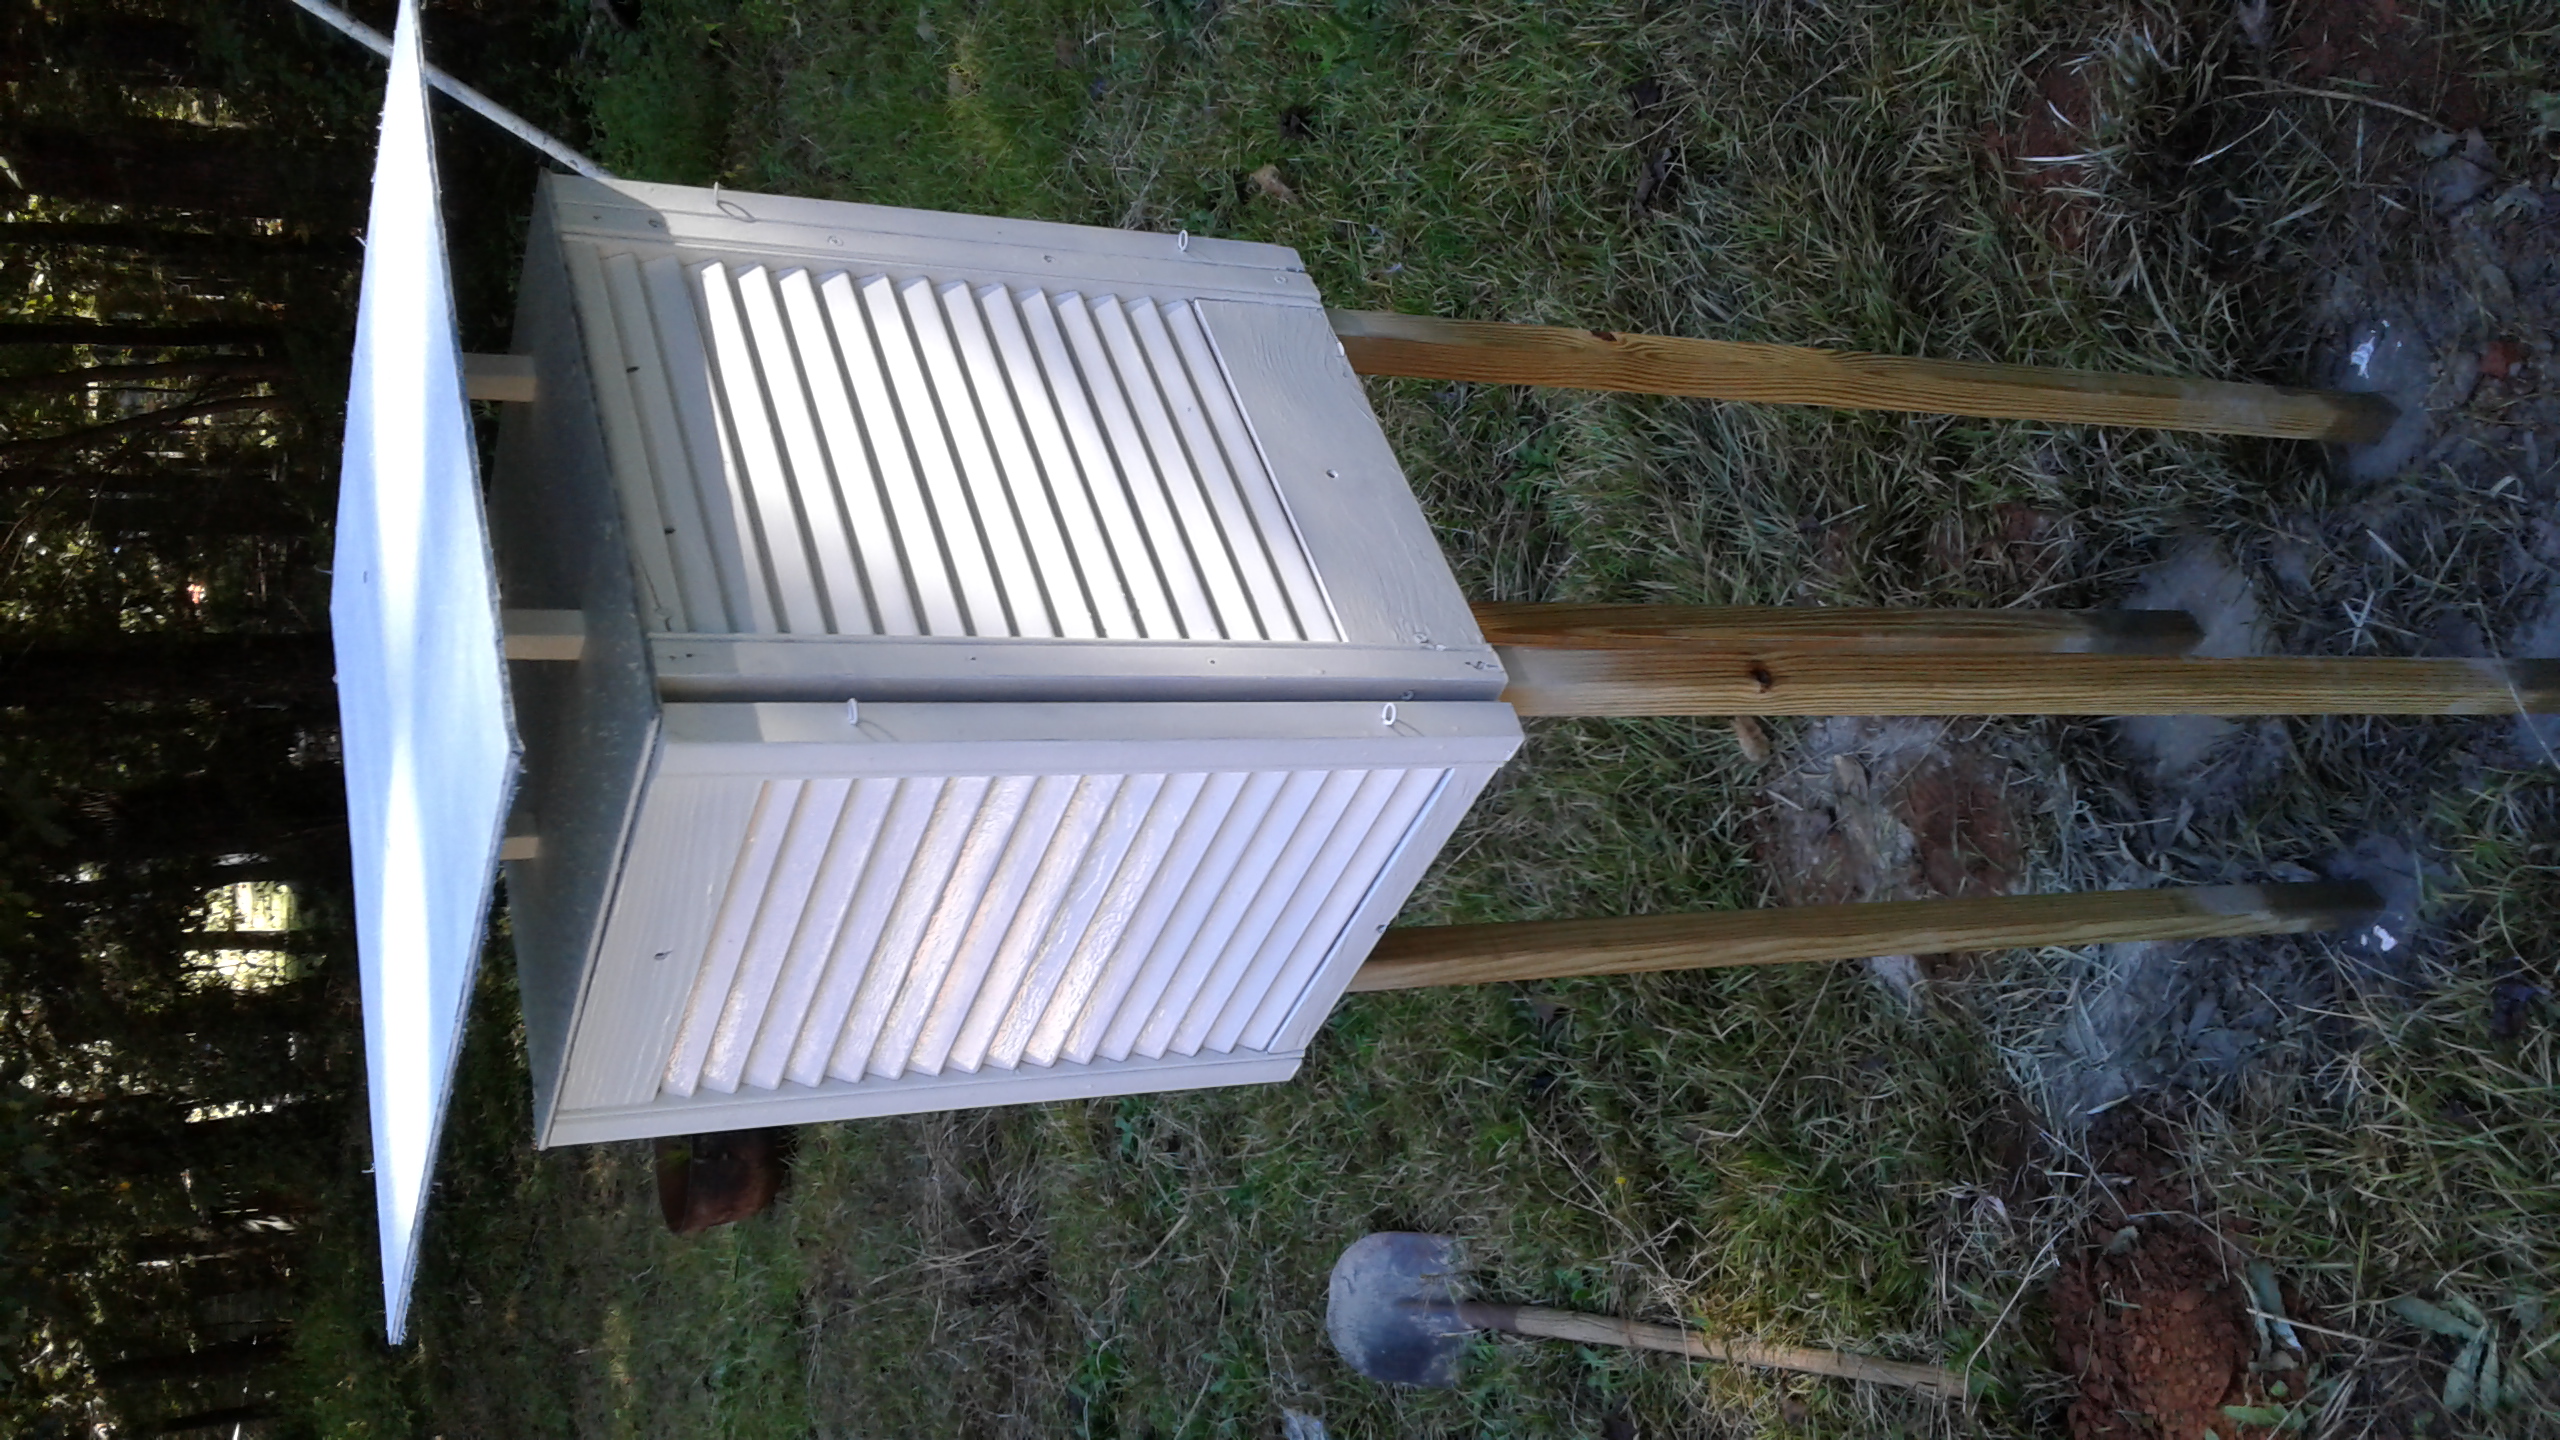
A couple of hours later, I had turned materials I already had on hand, lying around in the garage or out in the storage shed into a great Stevenson Screen enclosure. My
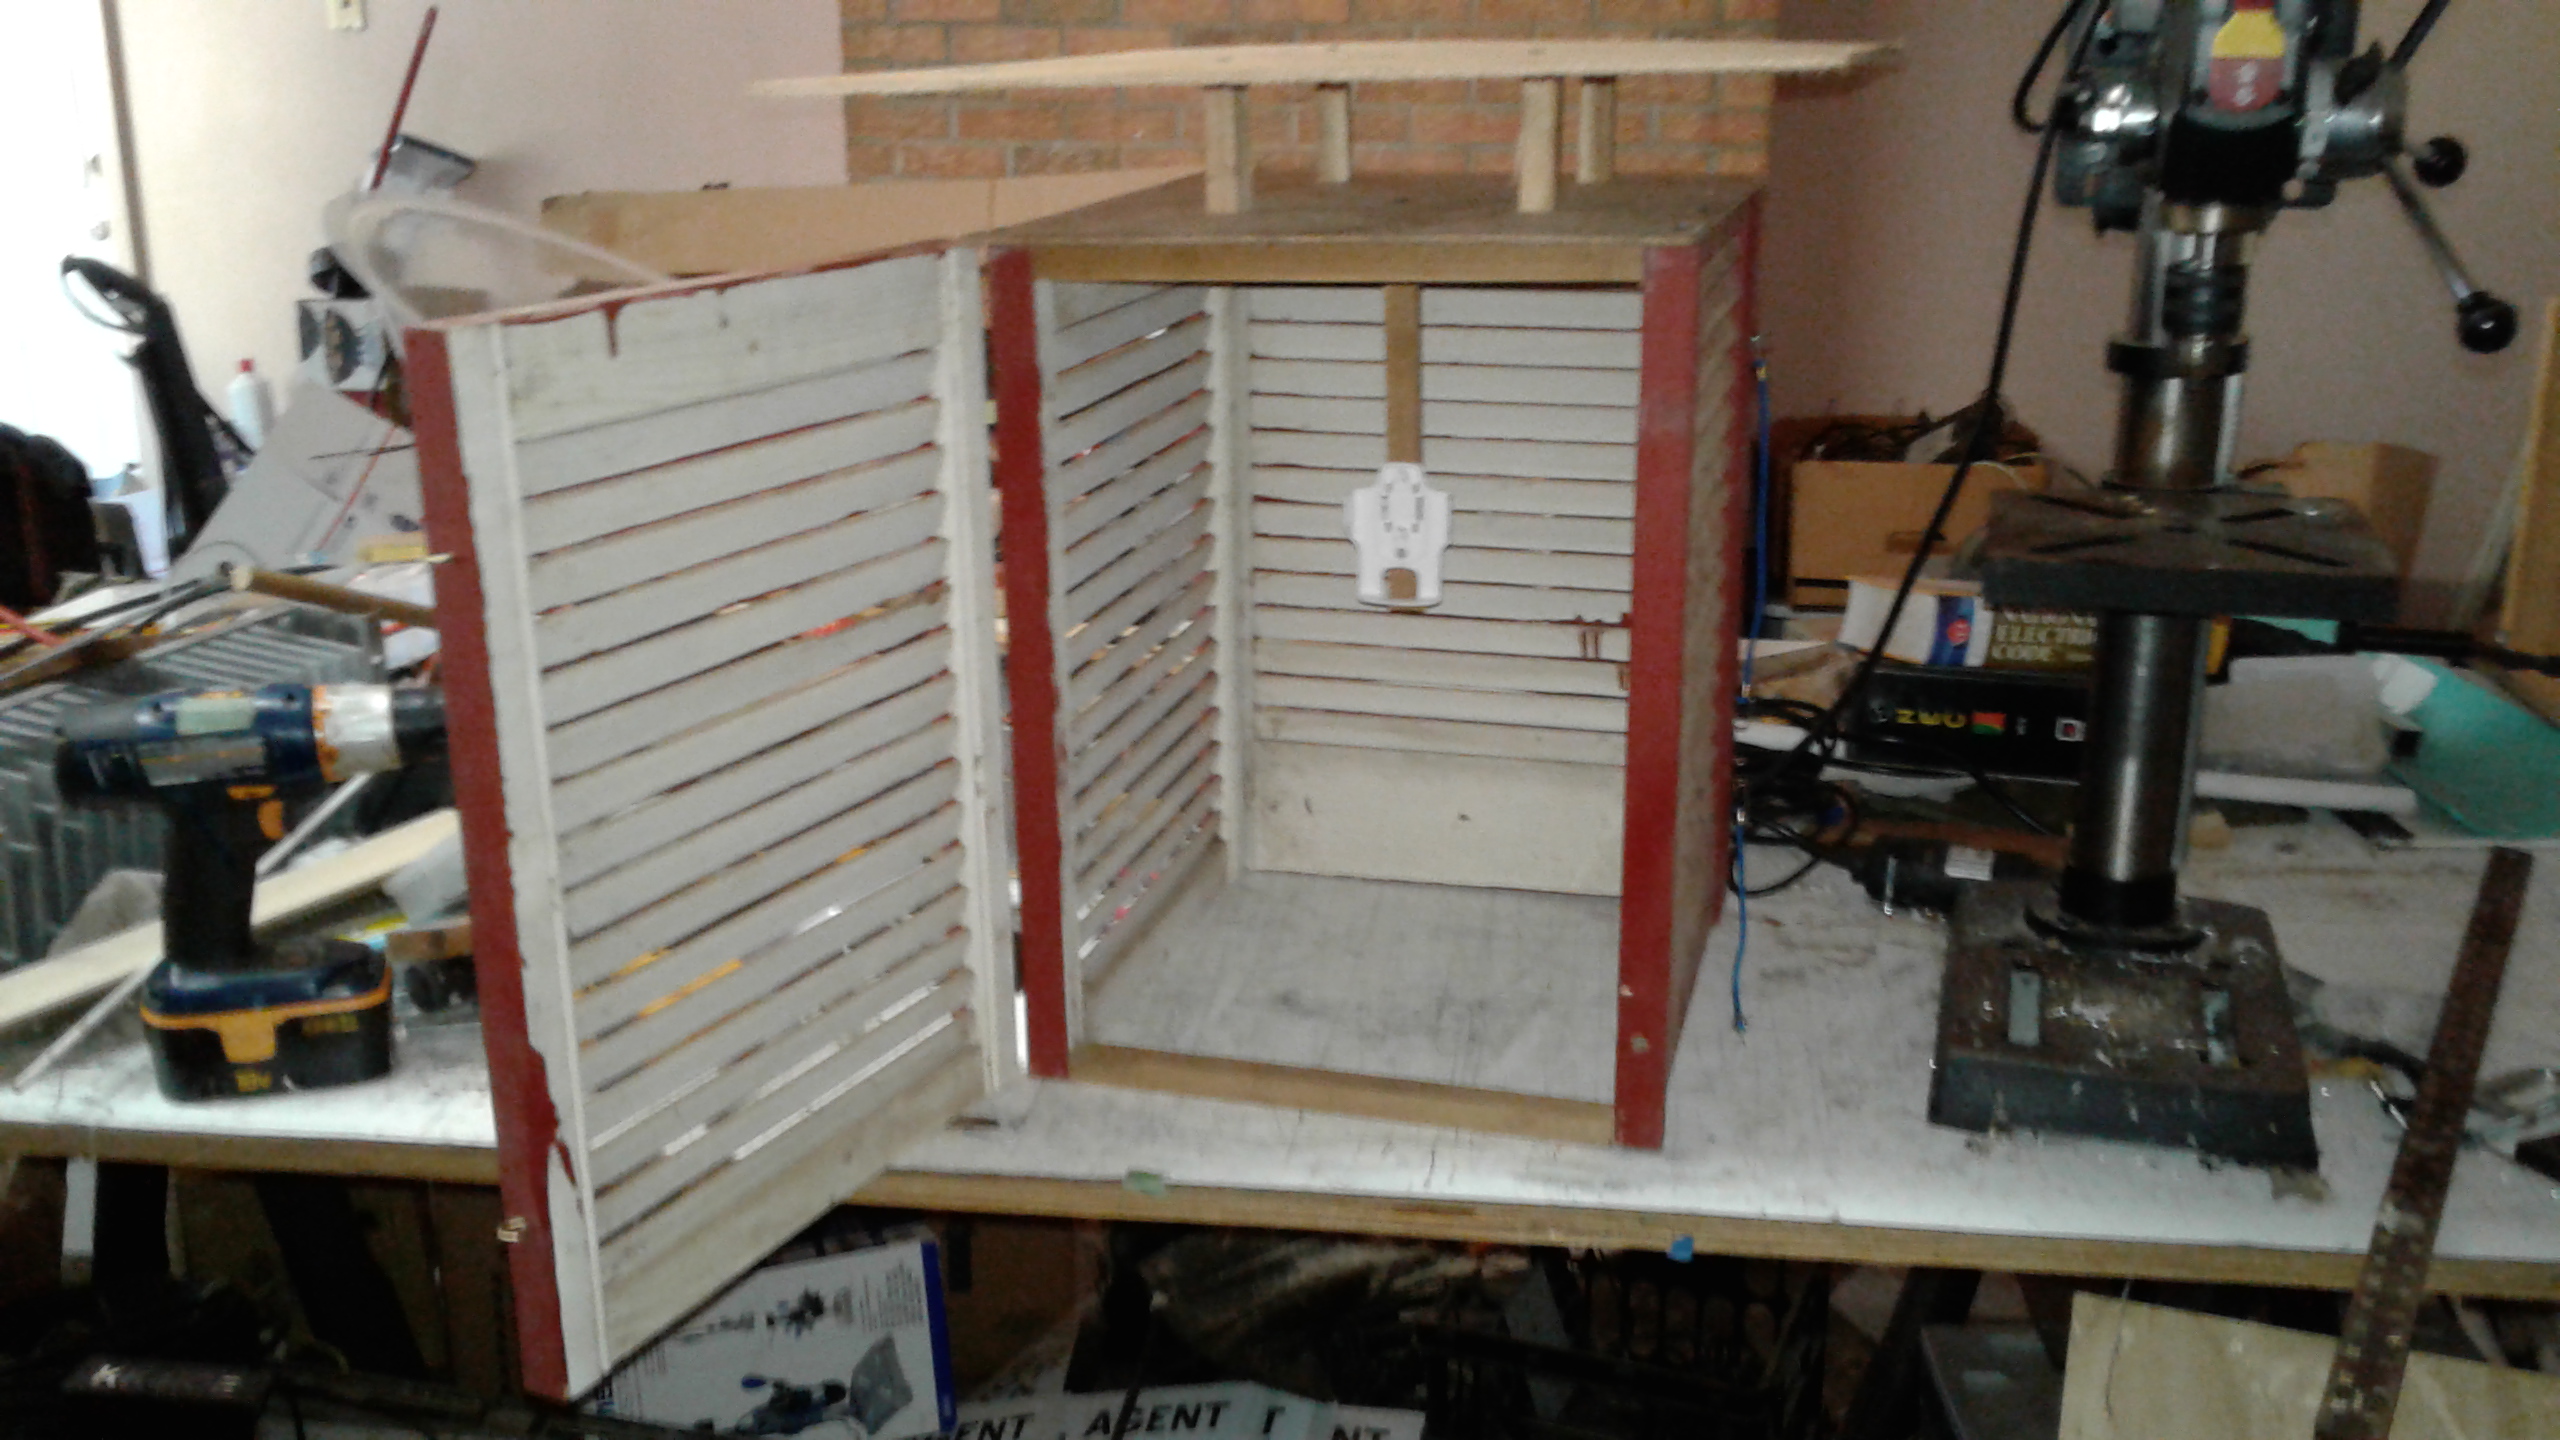
My D.I.Y. Stevenson Screen weather station enclosure. Building it was a breeze, even if installing it ultimately turned out to be a bit of work.
enclosure features the requisite louvered sides, a separate shielding/isolation roof, hinged access door, and mounting post for the temperature/humidity sensor. With the enclosure built, all that was left to do was install and paint it white (they’re always white in order to minimize the sun heating the enclosure — anybody who owns a black automobile fully understands the effect without need for technical explanations.)
A quick trip to Lowe’s and less than $20 later, I was back home with treated wood for construction of legs for the Stevenson Screen, several cans of white spray paint, and a bag of Quikrete to make sure that the fruits of my labor will probably still be standing out there even if my house gets picked up and hauled away by a rogue tornado. We severe weather enthusiasts tend to have the mentality of “Insurance will fix or replace the house, but I’ll have a total meltdown if my weather station doesn’t survive to accurately record all the data from the event which left me temporarily homeless.”
DIY Stevenson Screen installed with pressure treated posts and set with Quikrete.
In another hour or so I had four pressure treated posts/legs attached to the Stevenson Screen. Time to locate a good spot for it and make it permanent. About 20 lost pounds of body weight later (all water weight, i.e. “sweat”) I had four post-holes dug, the box leveled up, and Quikrete in place and setting up. While the Quikrete was drying, I was steadily applying a coat of white paint to the box. And another coat. And another coat. And a fourth coat. Thank Goodness Lowe’s sells some 99 cent per can spray paint.
The 2″x2″ pressure treated posts with the Stevenson Screen on top felt a bit too wobbly for my taste. Plus if the rain gauge (which I planned to mount on the top) gets vibrated really hard, it can cause the little “teeter-totter” rain measuring mechanism inside it to bounce back and forth, resulting in false or inaccurate measurements of rain. That’s why I probably looked like a Chinese guy carrying a jar of nitroglycerine in the hot sun when I moved the new rain gauge from its temporary location to the top of the new Stevenson Screen. If you wobble it, you get false rain readings. You can avoid that by taking the cover off and removing the battery, but to do that you almost always end up inadvertently shaking the unit and getting anywhere from 0.04″ to several inches of intense, torrential rainfall falsely recorded by the weather station computer even though it was actually 96 degrees and sunny without a hint of rain at the time.) Editing that data in the computer is a pain and if it gets uploaded to sites like WeatherUnderground, Weather Bug, the
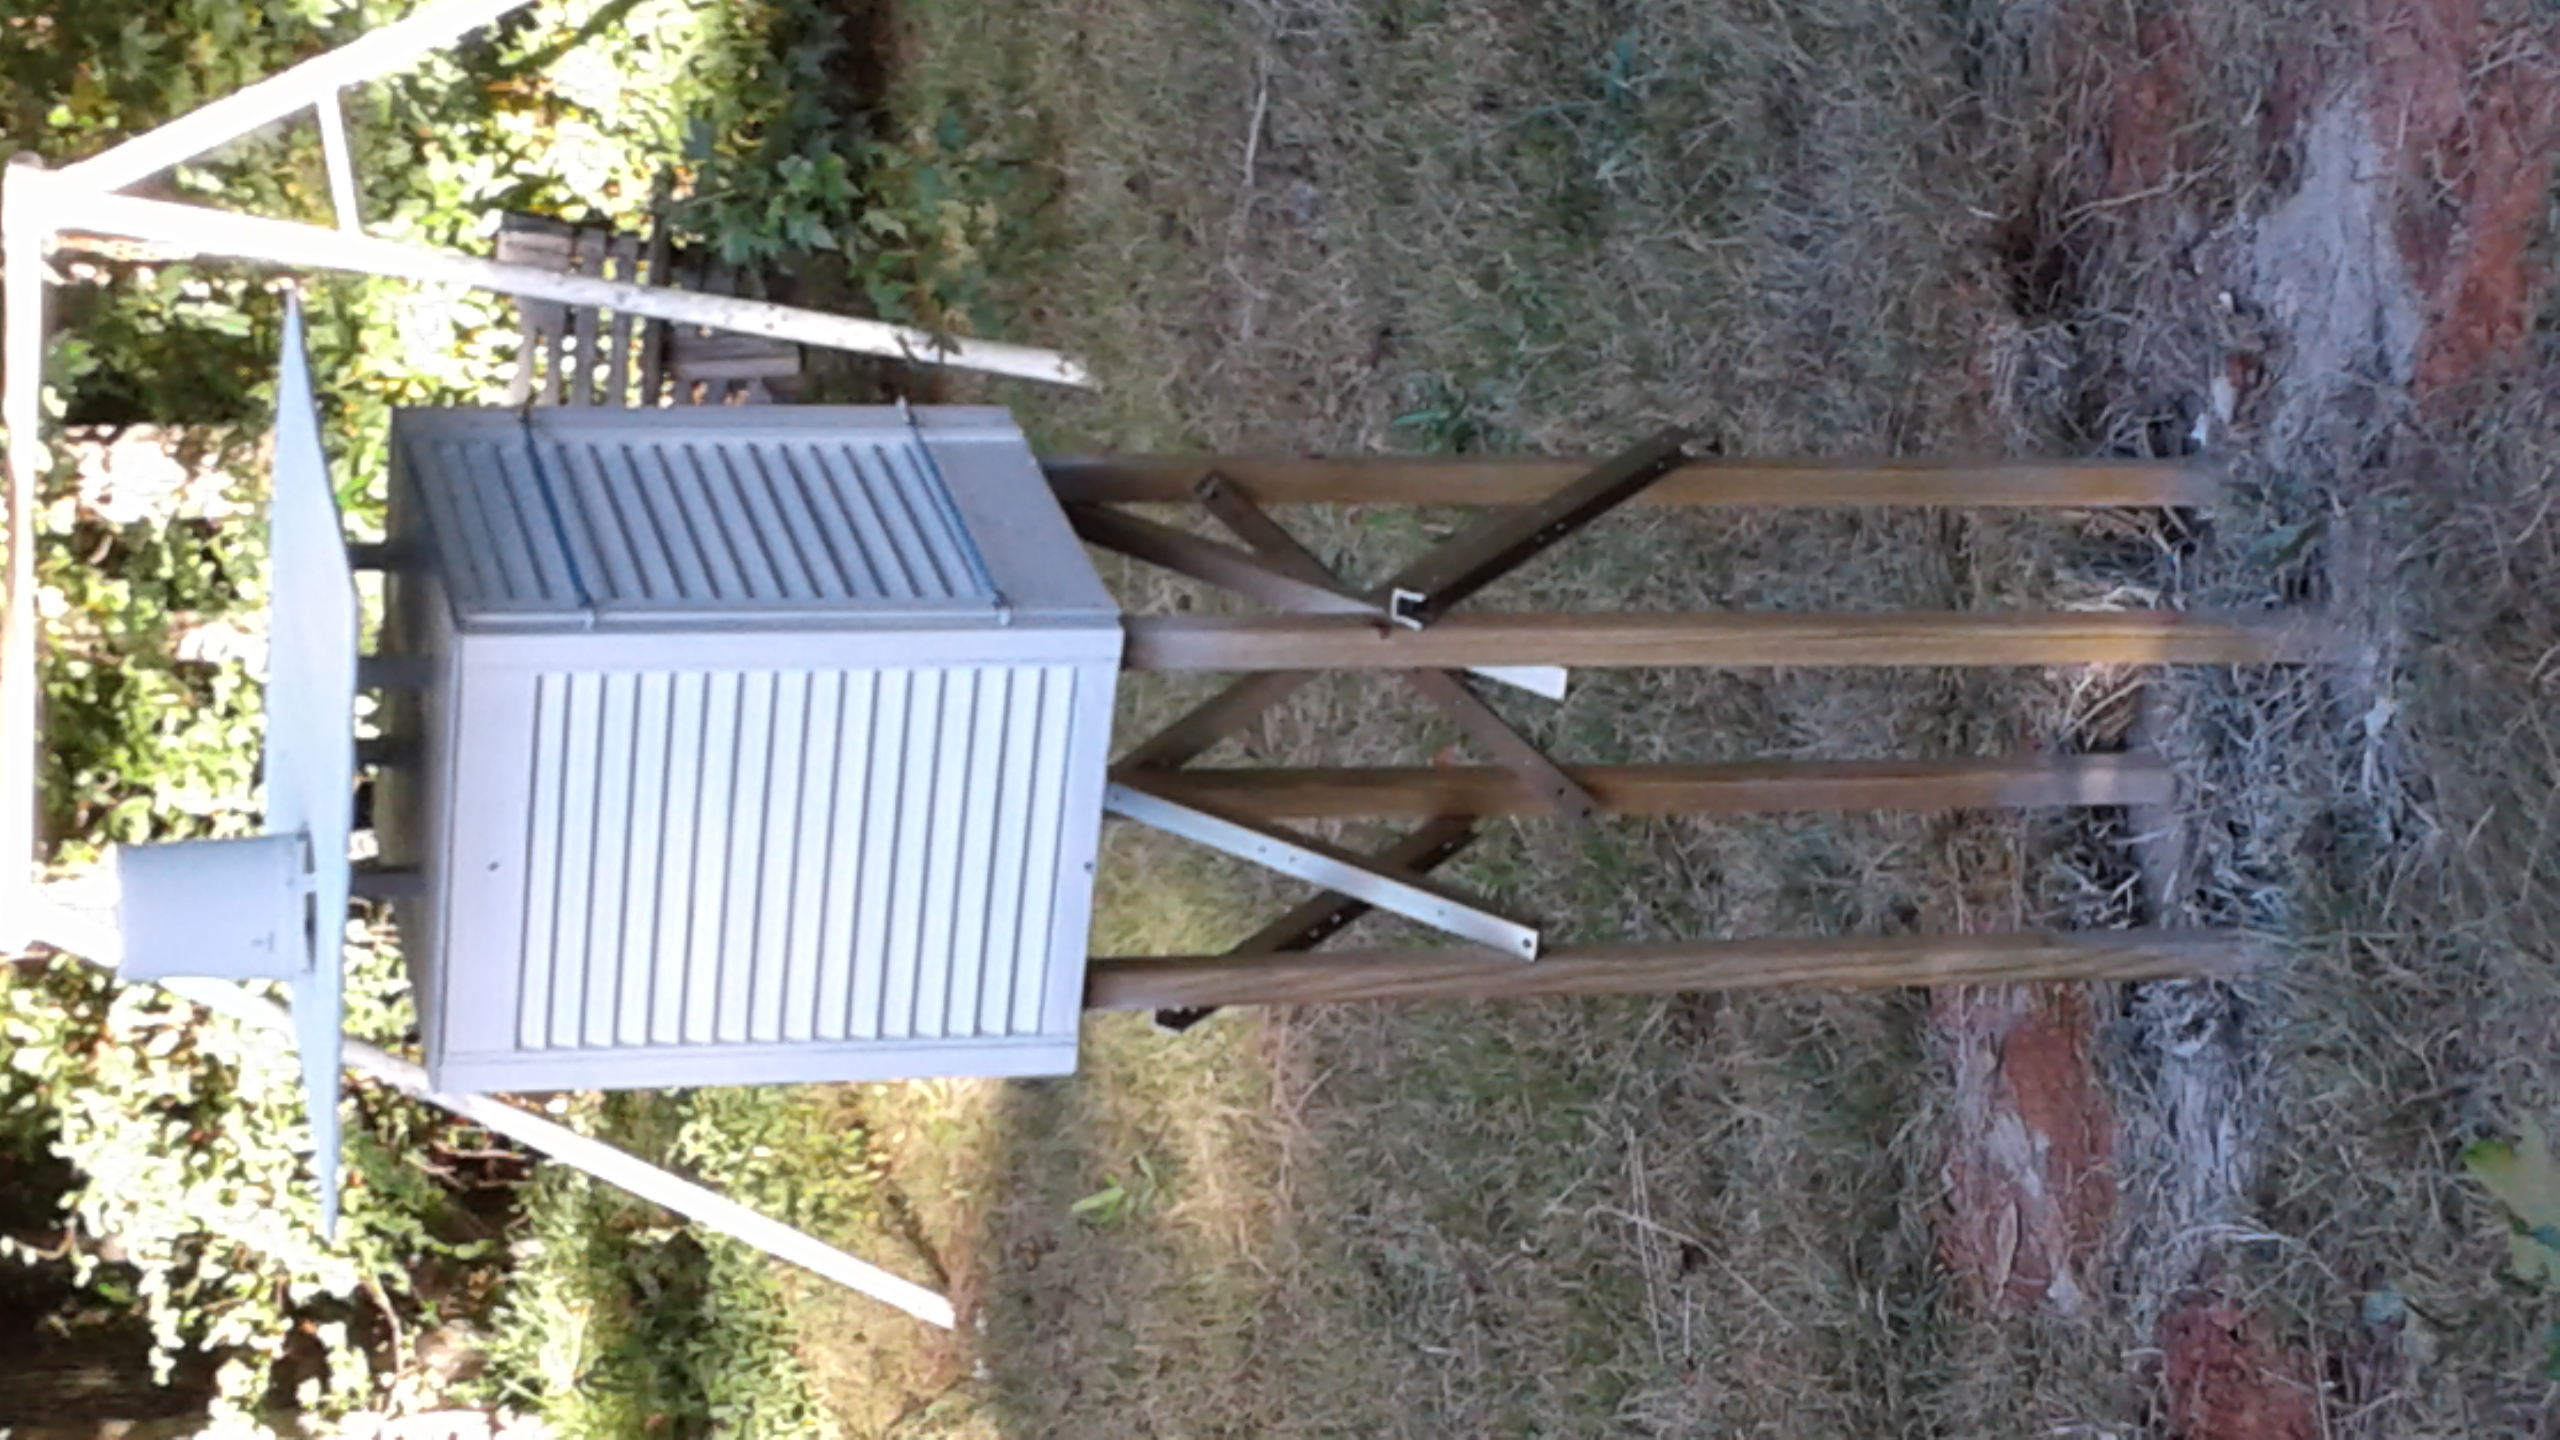
Repurposed aluminum rails from converted duplexer assemblies installed as braces on the posts got rid of the wobbliness, and final two coats of white paint applied to the enclosure. The new rain gauge is mounted on top of the secondary roof panel.
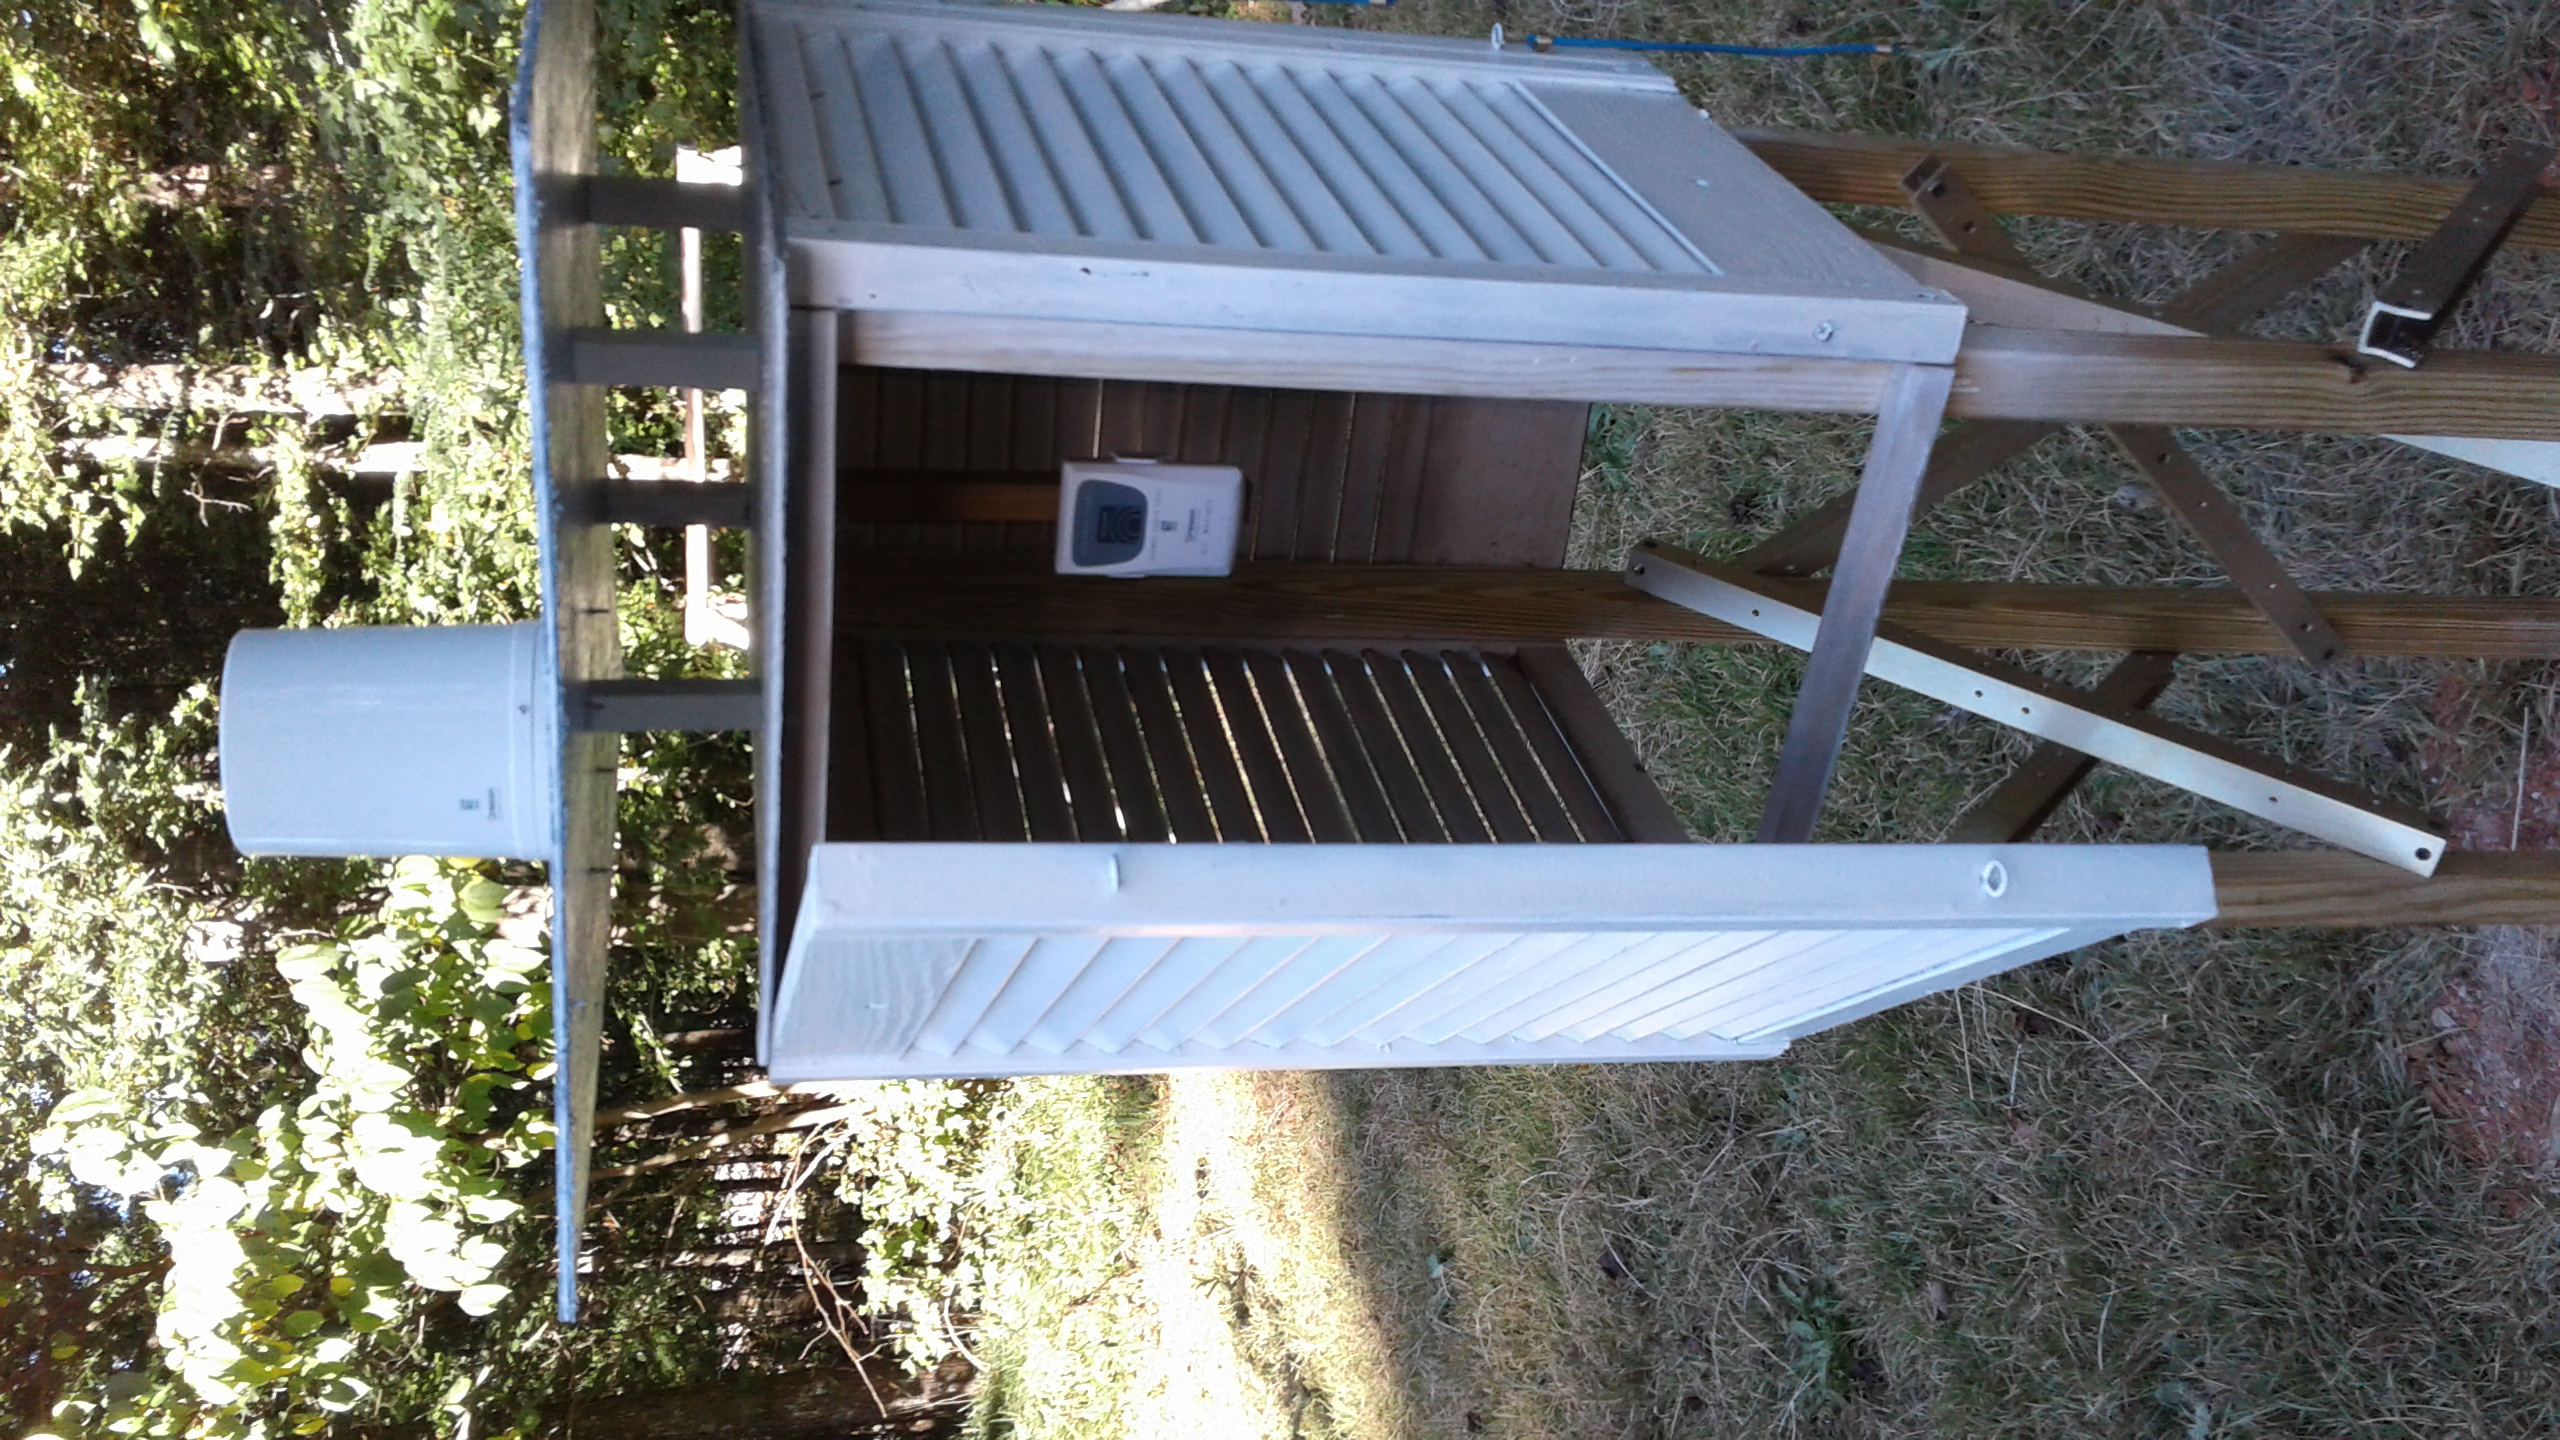
A hinged front panel allows for easy access to instruments mounted inside the Stevenson Screen enclosure. I plan to put sensors in there in the near future for controlling my automatic heat pump condenser misting system. That’s a story for another day, however.
APRS/CWOP servers, etc. (all of which this station does) you really have no way to go into their systems to correct the data. Much to my delight, I did succeed in getting the rain gauge from point A to point B without any artificially induced rain measurements. But I didn’t want really strong winds to be able to shake the Stevenson Screen and cause artificial rain readings either. Hmmmm… oh, wait. Again, in typical ham fashion, in a microsecond my brain scanned the house, garage, and most of the known universe for something to use to brace the legs. Eureka! I recently converted three sets of four-cavity duplexers into two sets of 6-cavity duplexers, which necessitated making new, longer aluminum frame/mounting rails. I had stacked the original, shorter, factory rails (complete with lots of pre-drilled holes) under the workbench. About a half hour and 12 screws later I had nifty cross-braces installed on the legs of the Stevenson Screen and the wobble/shakiness was reduced to a negligible level
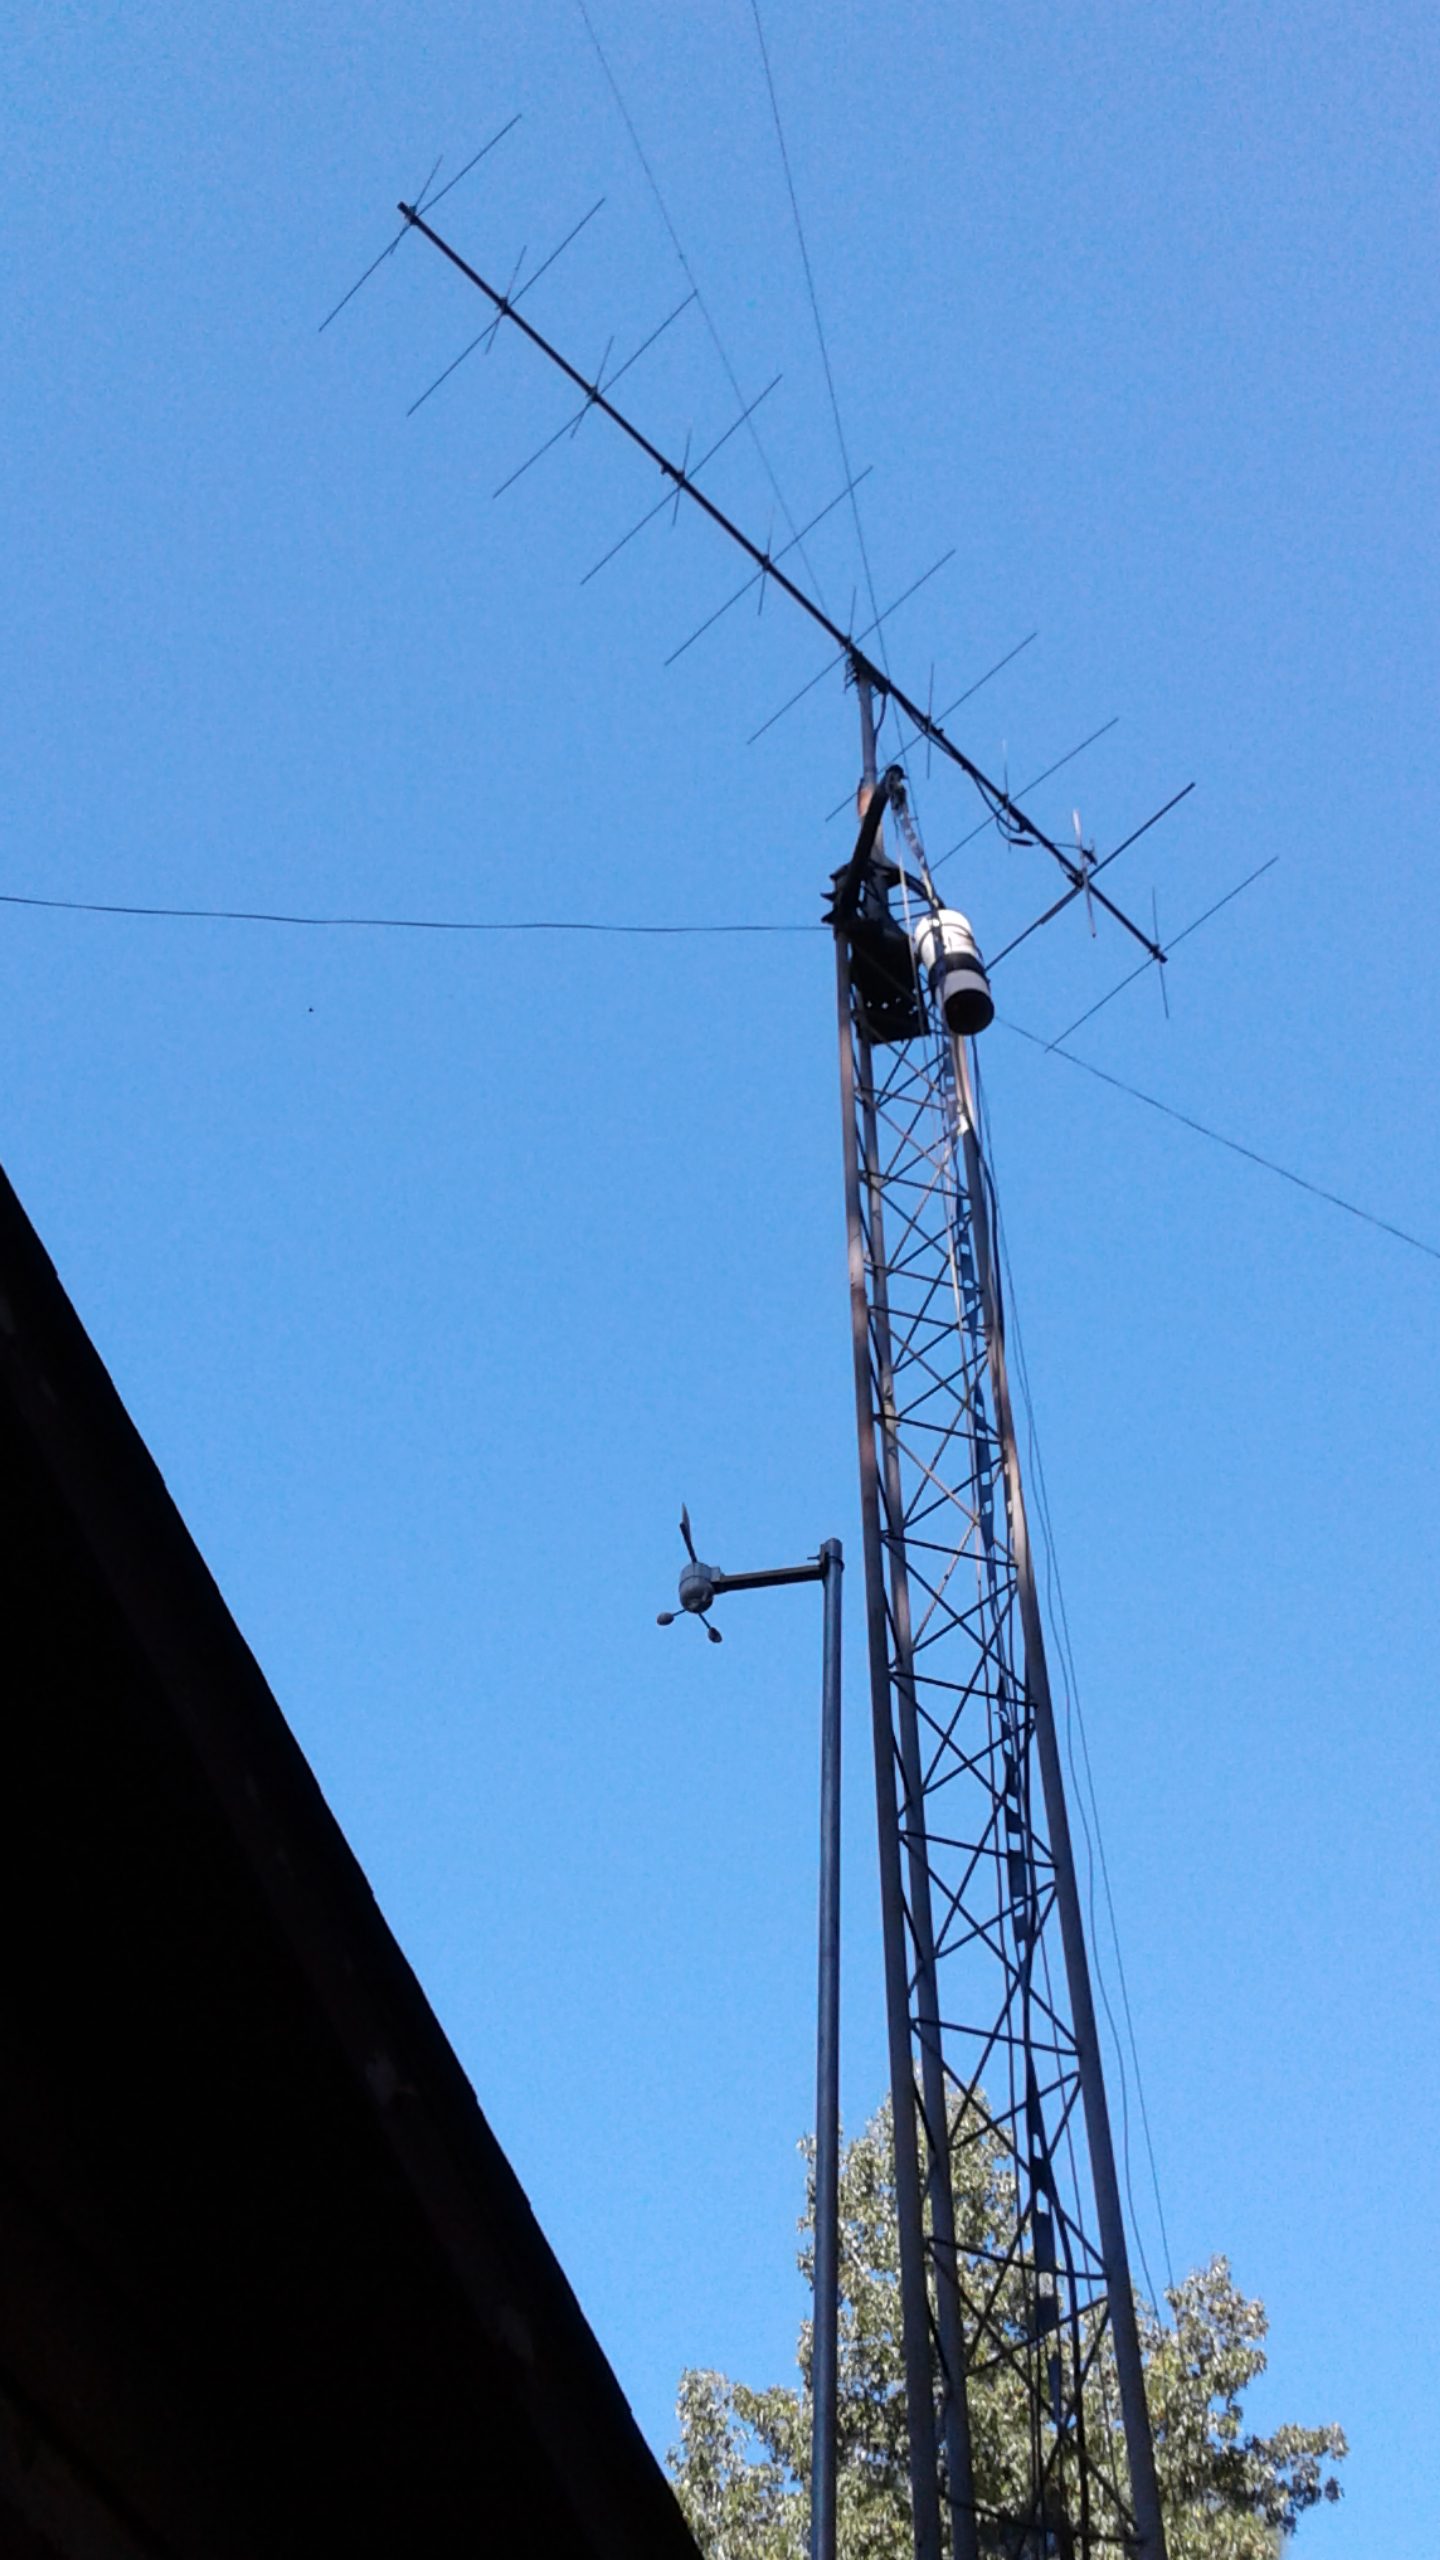
Weather station anemometers and wind vanes should ideally be about 20′ above ground level. Also in an “ideal world,” I’d be about 24′ tall so that getting to this thing would be a bit less of a chore.
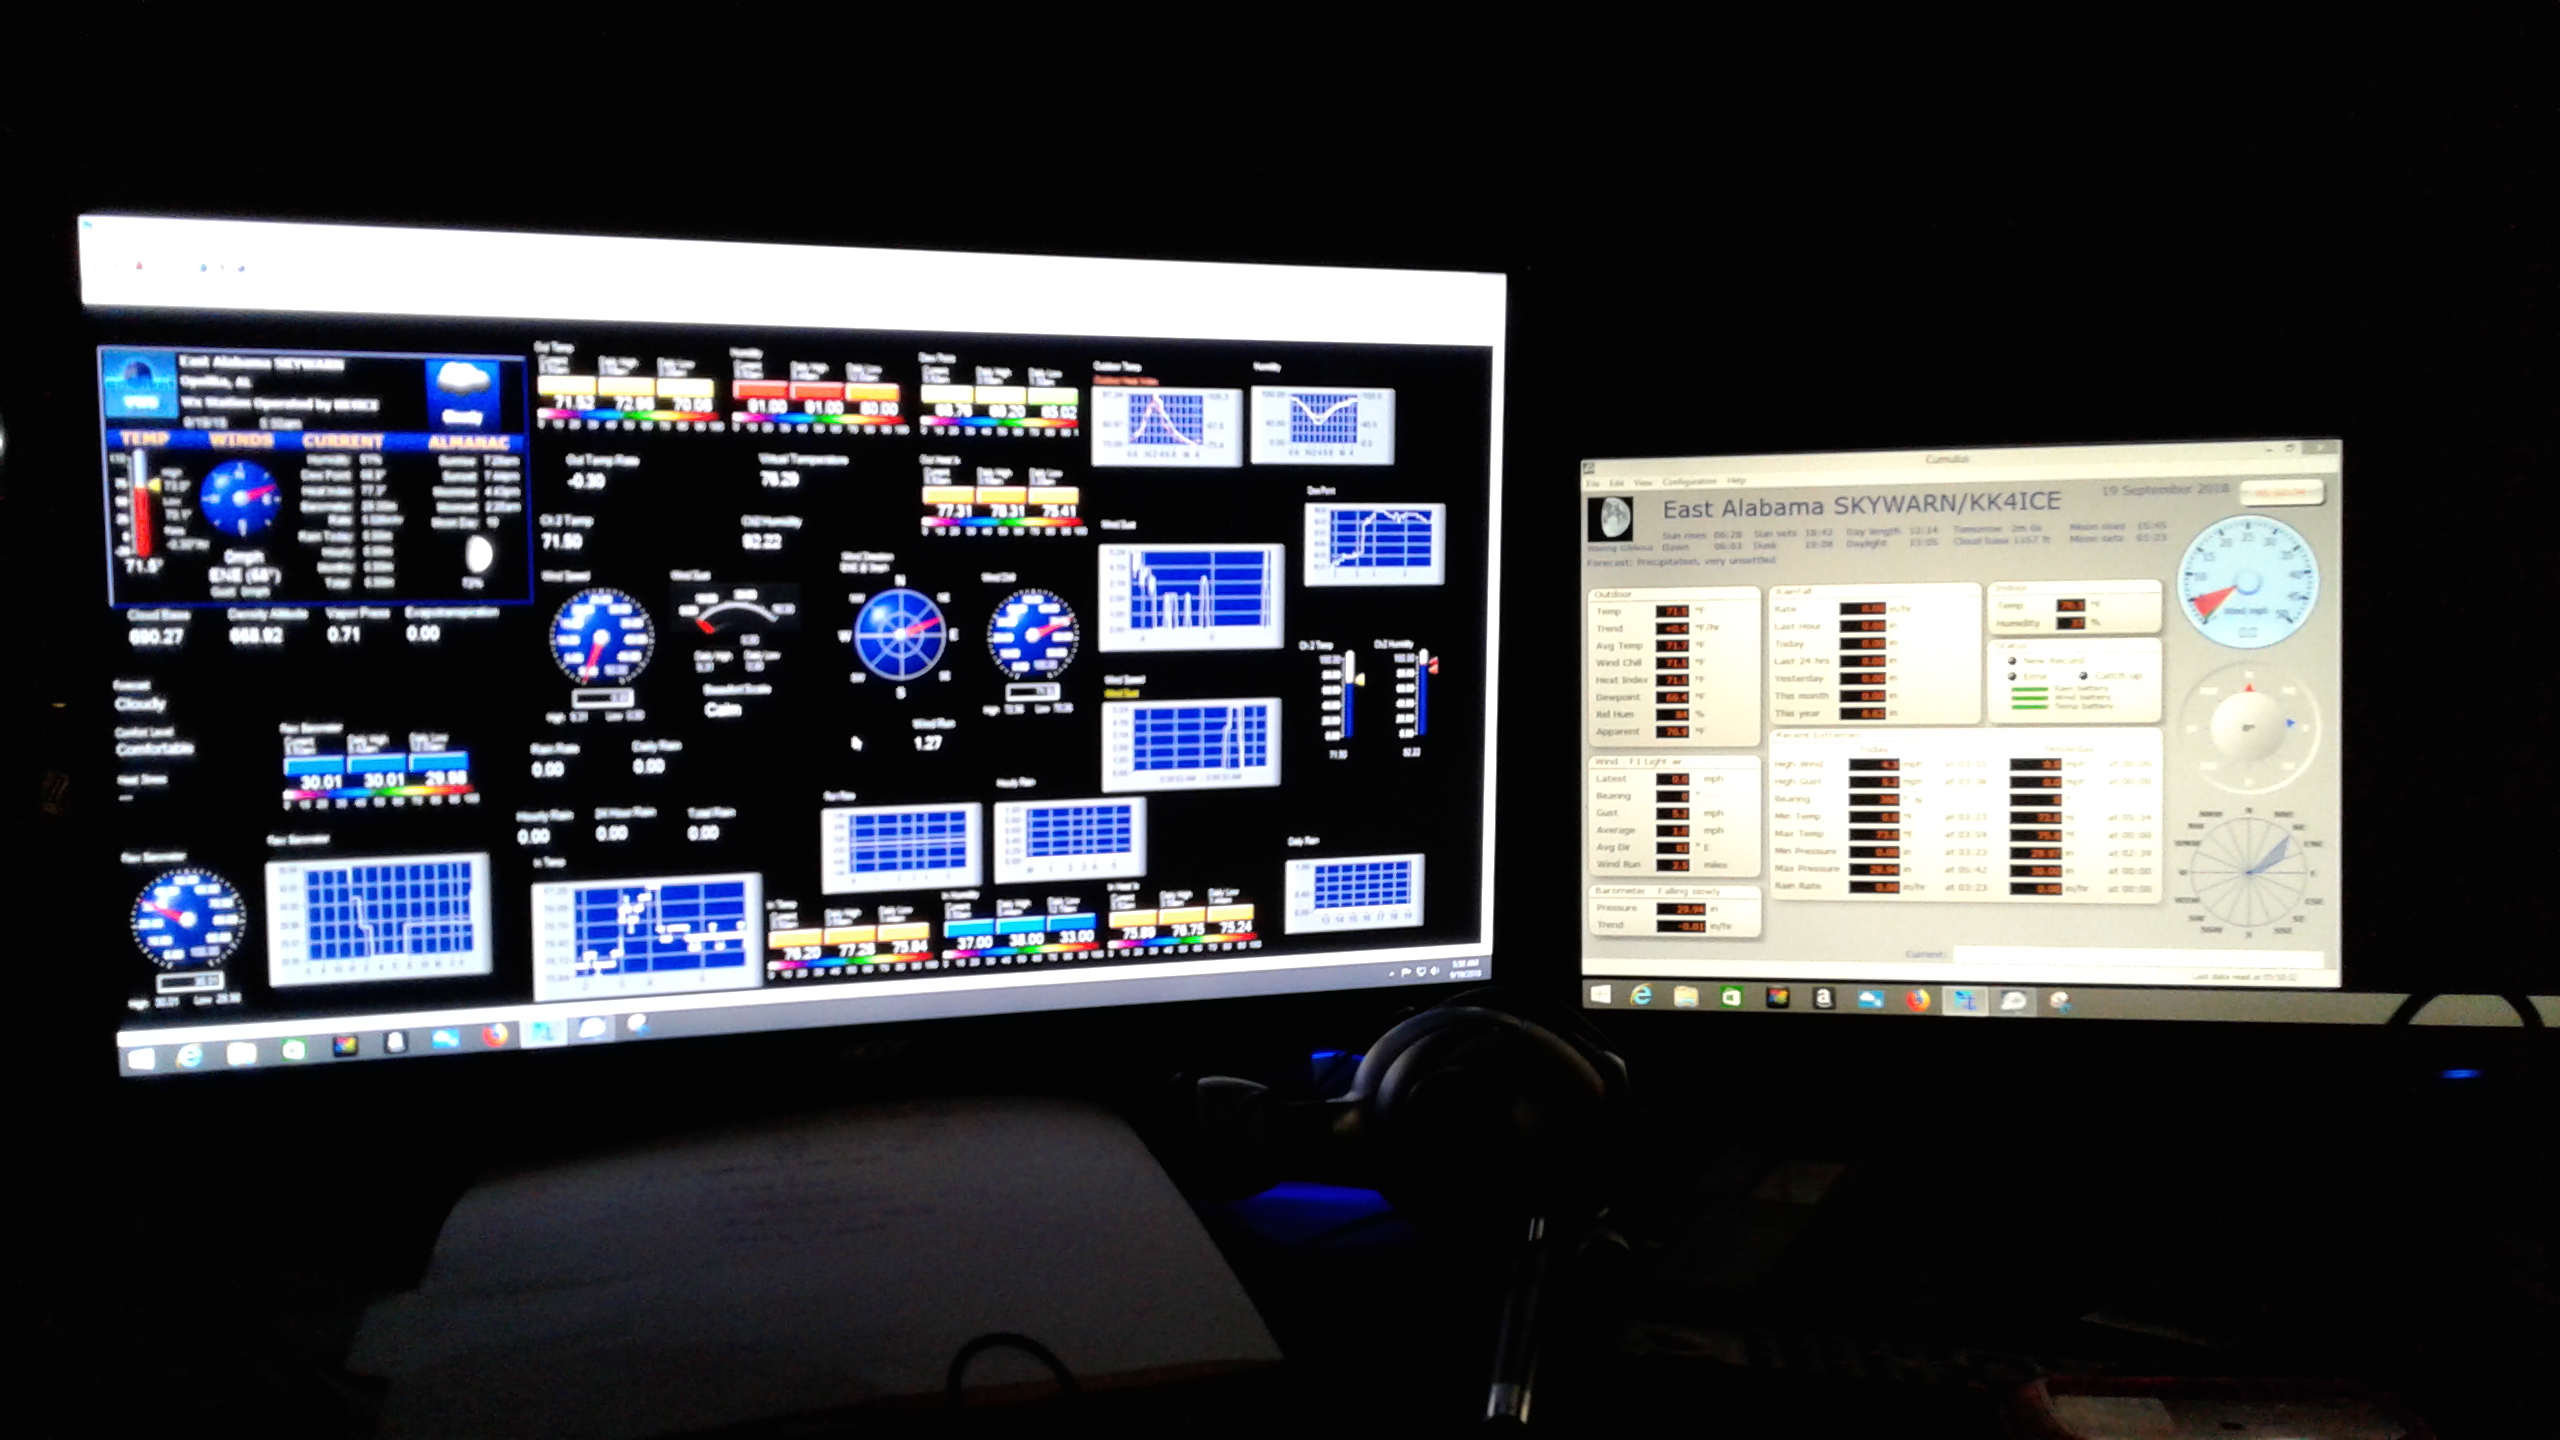
Data from the weather station is processed and distributed using multiple software solutions.
The short version of the story: by repurposing a bunch of salvaged items and investing less than $20 in materials I didn’t already have on hand, the KK4ICE / East Alabama SKYWARN Weather Station now features a Stevenson Screen enclosure.
I’m still trying to decide which was harder work: digging the four holes and setting the legs of the Stevenson Screen in Quikrete, or replacing the original anemometer/wind vane with the new one (it’s mounted 20′ up on a pole and ain’t easy to get to.) My body says it’s a tie… both tasks kicked my butt big time and I will no doubt continue to feel the effects for several days. Hence, this morning I’m sitting here typing up this blog post/article and it’s most likely the most strenuous activity I will engage in today. Possibly the next several days.
If you want to see the real-time data from the KK4ICE / East Alabama SKYWARN Opelika, AL Weather Station (updated every five minutes, with wind readings updated every 15 seconds), the easiest way to do so is to go to the station page on the WunderGround website. This link will take you directly to the station page: https://www.wunderground.com/personal-weather-station/dashboard?ID=KALOPELI2 where you will find a ton of data and graphs, all of which should be even more accurate than ever now as a result of all the recent work.
73 everyone,
KK4ICE (The “Iceman”)
East Alabama SKYWARN Coordinator
Recent Comments